Class 2 Additional Instructions
Make sure you have the following complete as we did in class:
- Setup your c9.io account (via my email team invite)
- Connect your c9.io account with your Github account (at c9.io > "Settings" > "Connected Services" > "Connect")
- Clone your github.io repository as a c9 workspace by clicking on "Repositories" on the left; you should see your github repository, click on "Clone to Edit". Name your workspace "homepage" and click on "Create". The loading bar might take a moment but you should find yourself in a text editor with "Welcome..." text at the top.
- Create a new file under "File > New" and save the file as
index.html
Now to complete your first html page:
Copy-paste the following code into your index.html file area, and save the file.
 <html>
   <head>
     <title>Hello, world.</title>
   </head>
   <body>
     Hello, world.
   </body>
 </html>
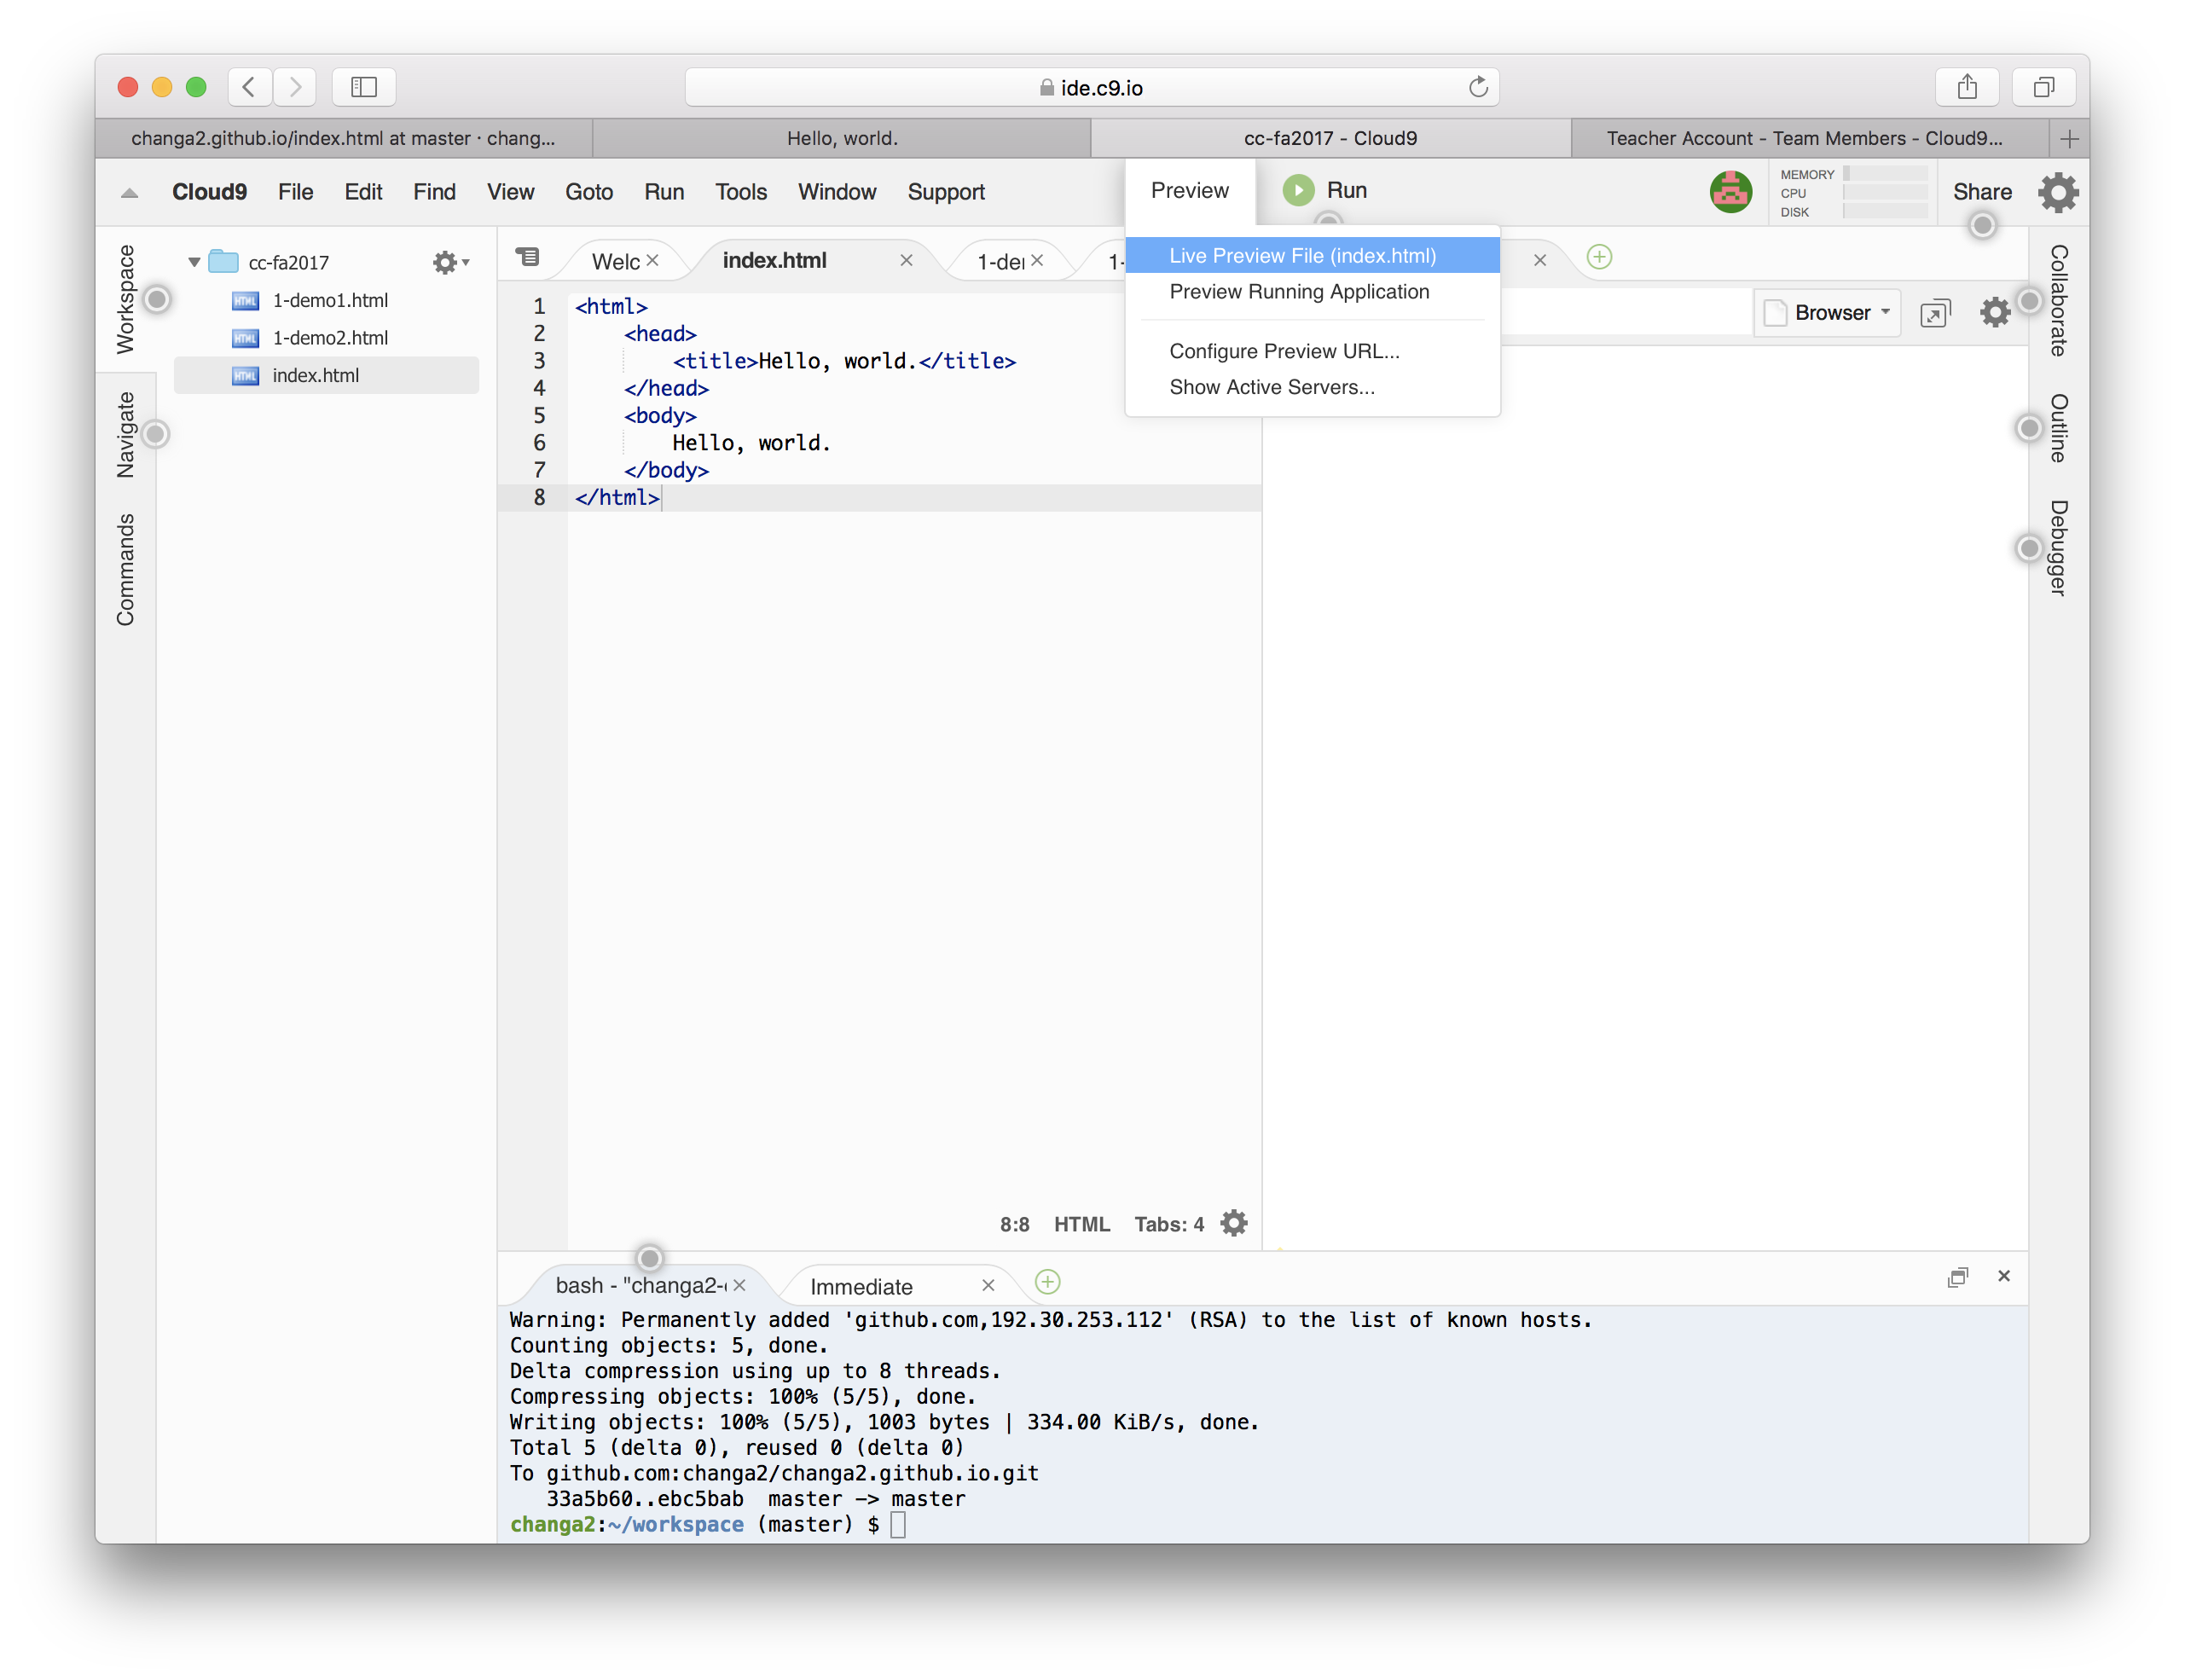
Click on Preview > Live Preview file. This should open up a panel on the right that imitates a browser, rendering your code. From here, any updates to your code is reflected in real-time on the right side.
Play around with the code here and observe your changes (these changes stay private, in cloud9, until you push it to github.)
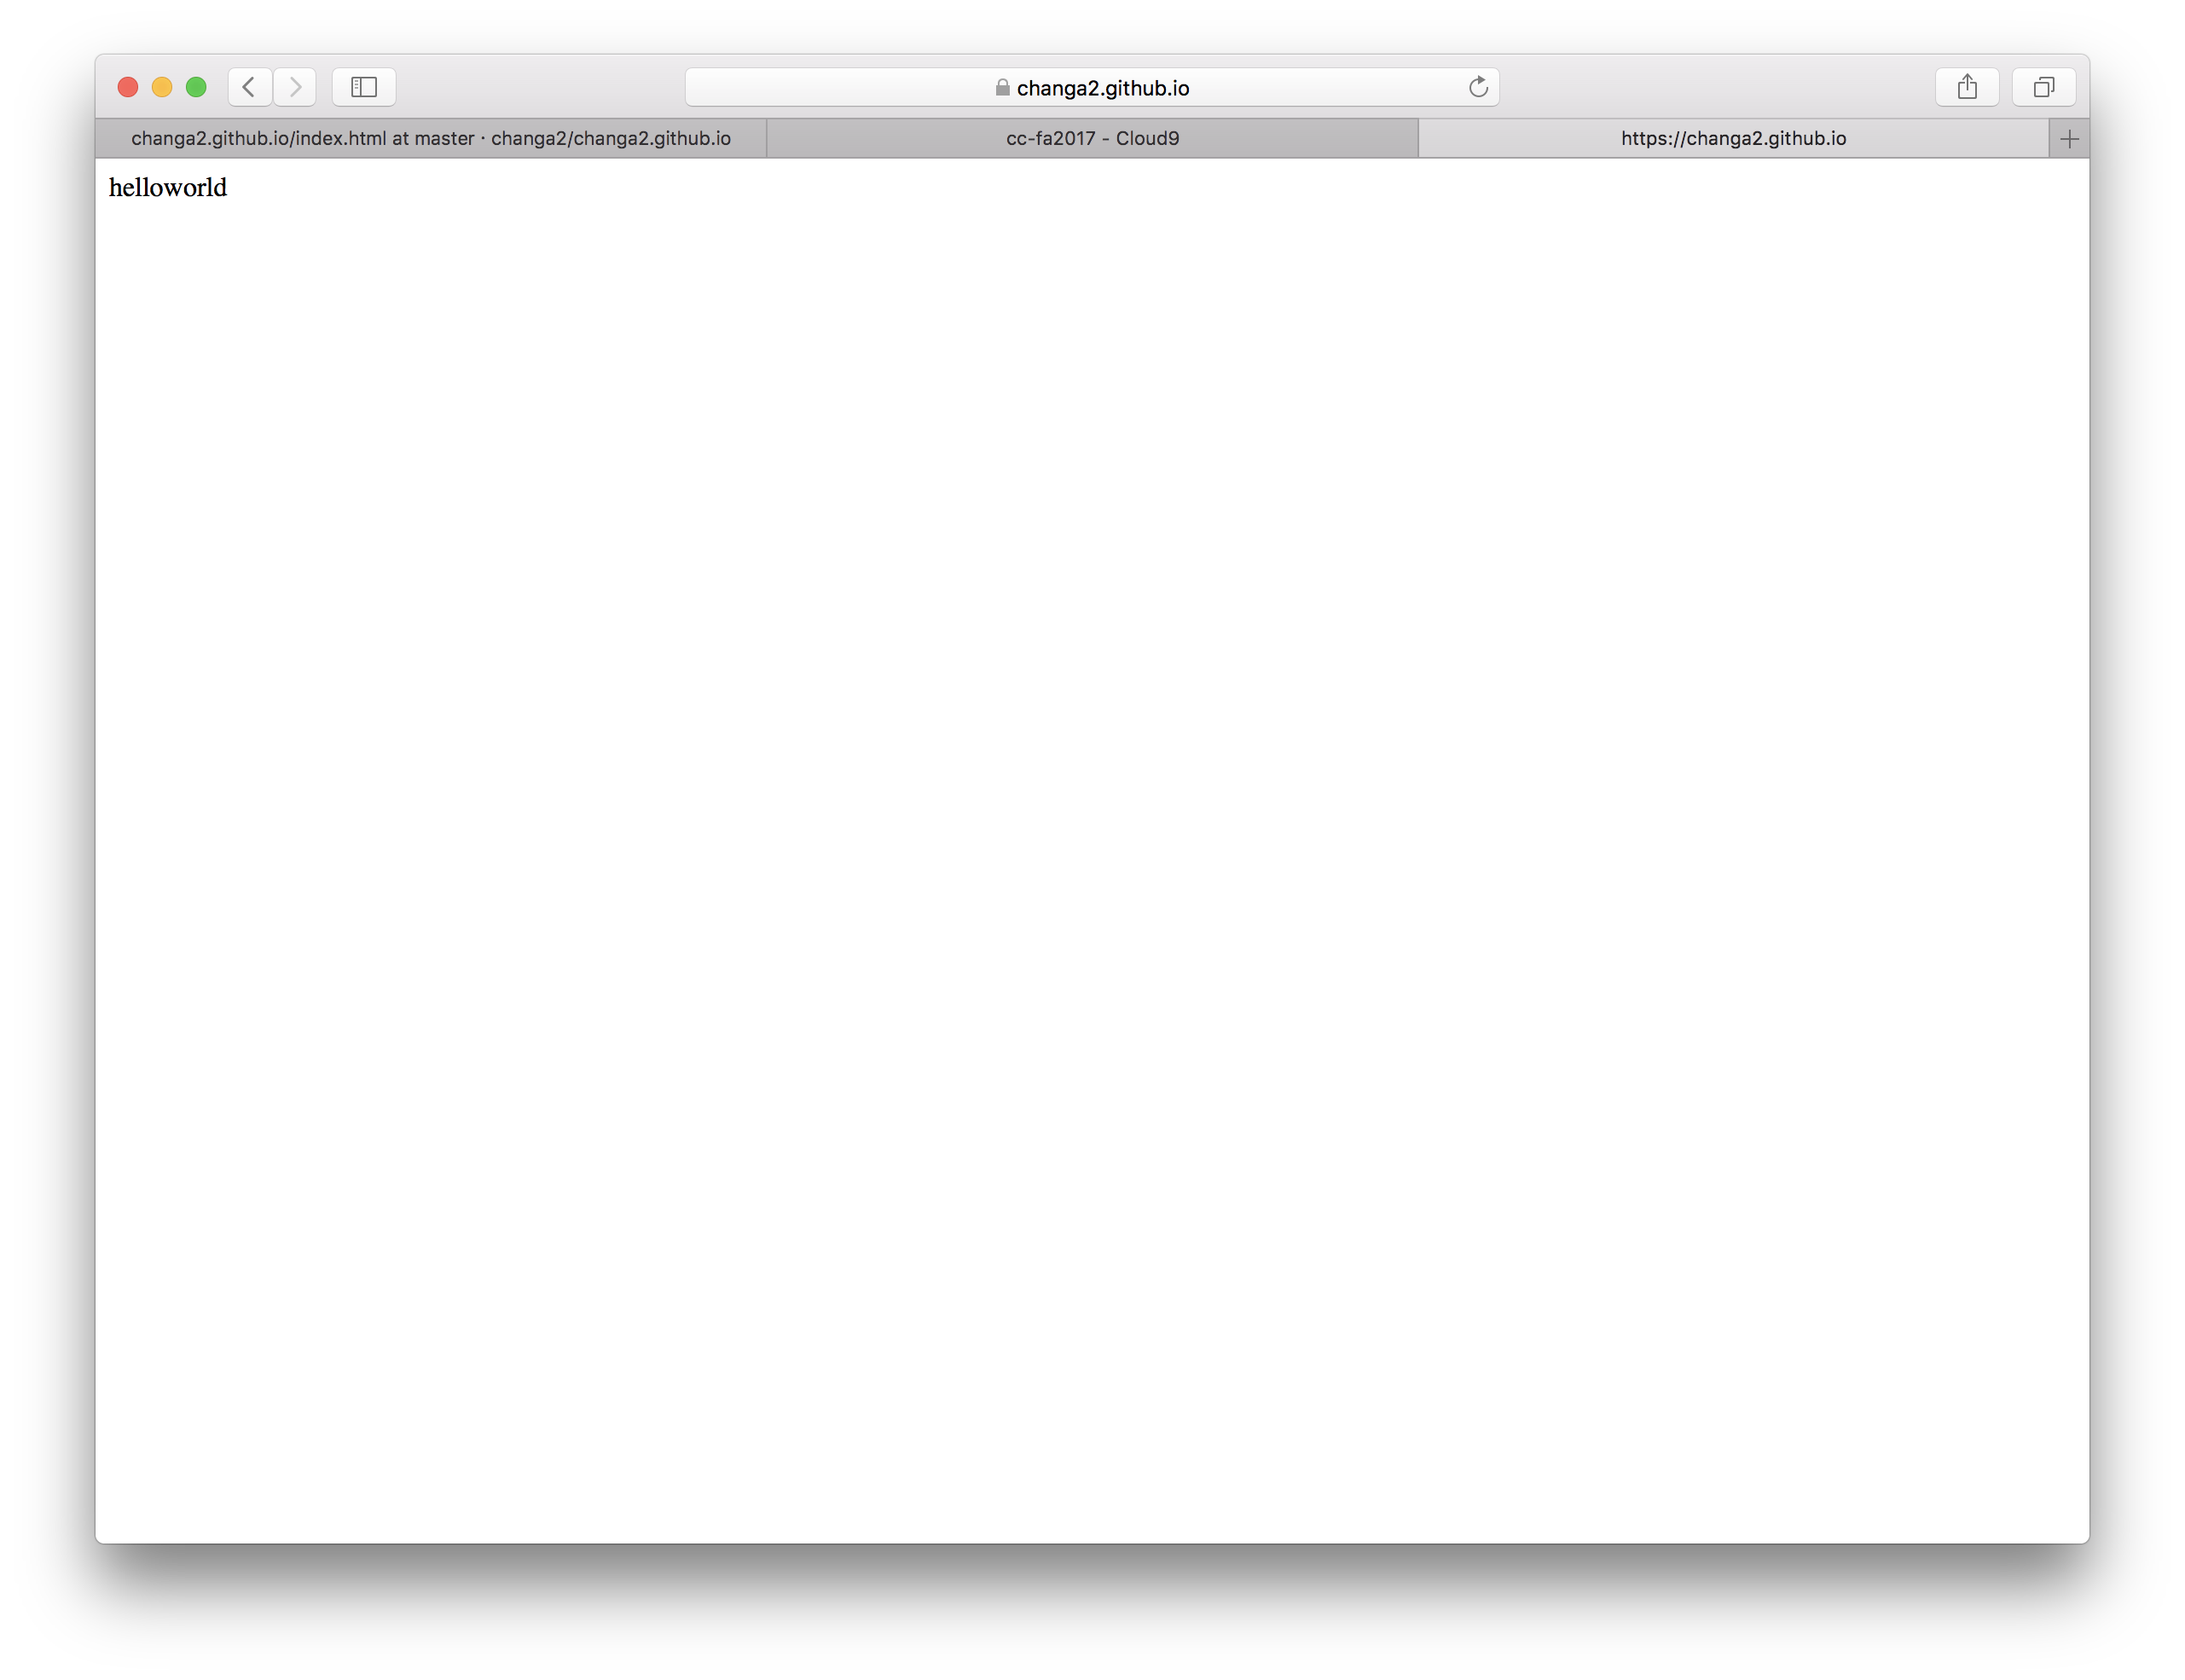
When you're satisfied with the changes, and at any time, you can publish your changes to the internet.
Publish your changes by typing in the following three git commands in the console:
git add .
git commit -am "describe your changes here, for example, add pizza photo"
git push
Everything you see on a web page is going to be contained within the <body> tag.
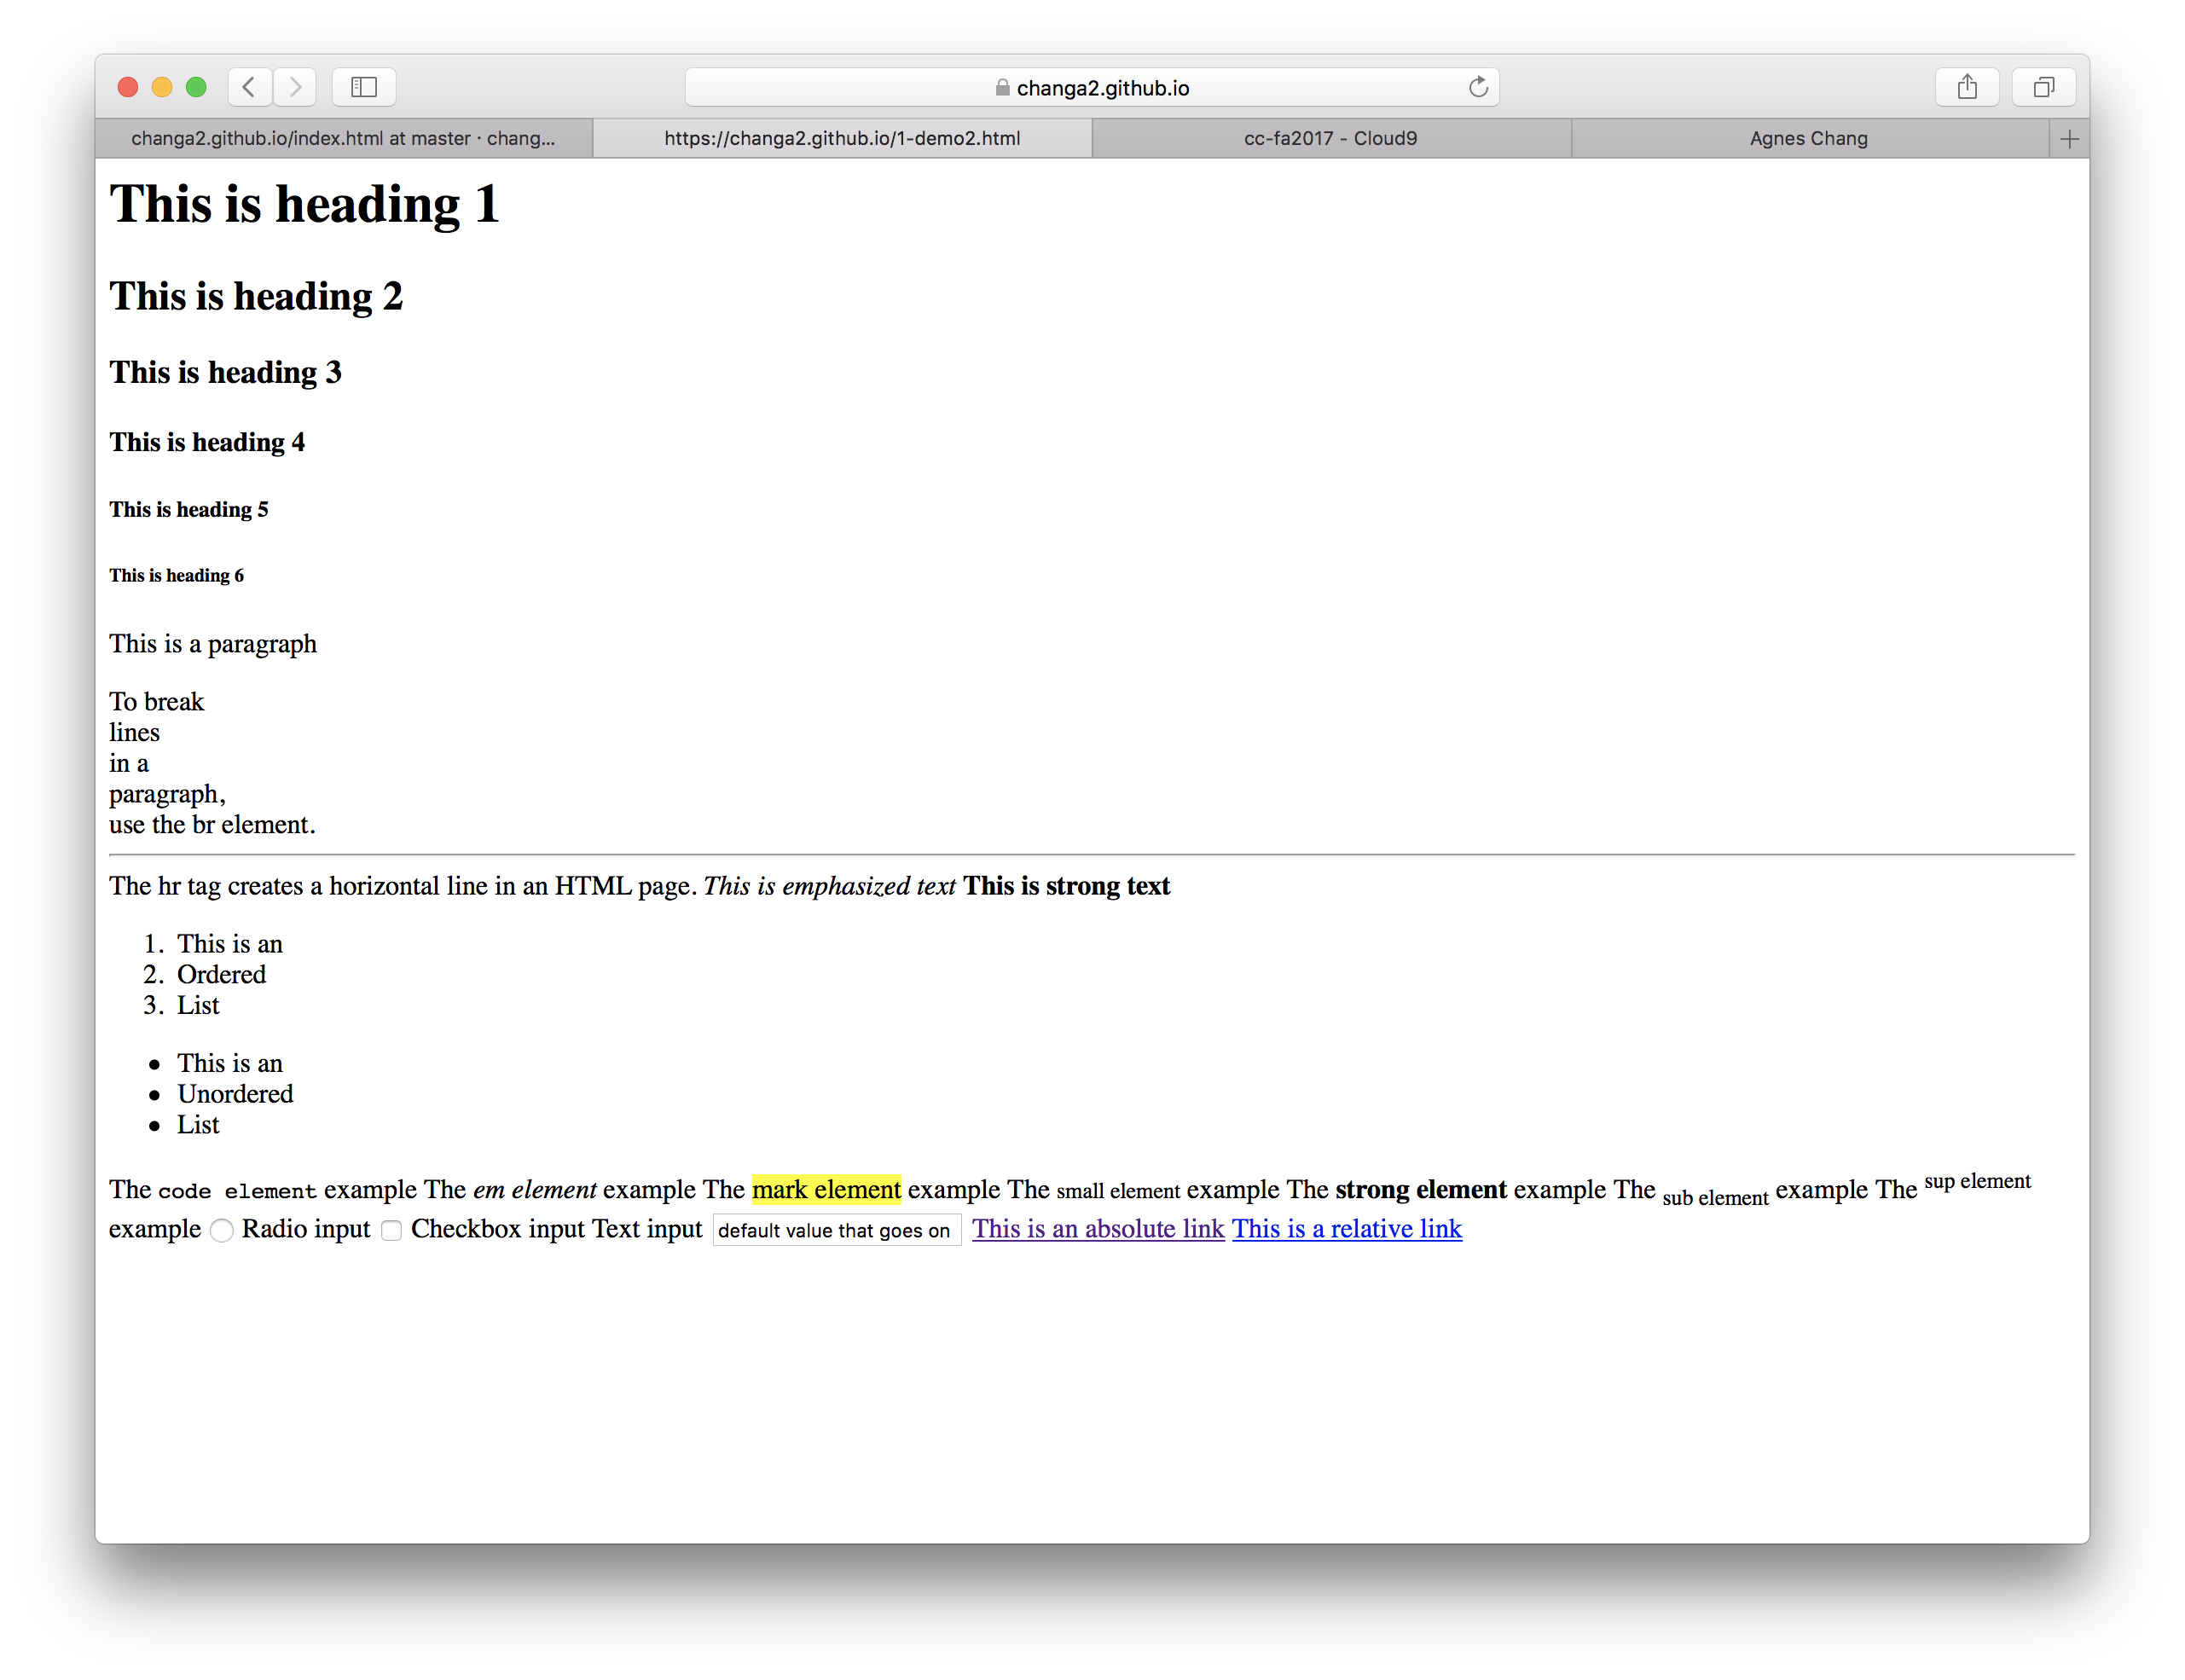
Below are some common HTML tags that you can use to begin building your index page.
For more tags to play with, see this extensive HTML reference page.
<h1>This is heading 1</h1>
<h2>This is heading 2</h2>
<h3>This is heading 3</h3>
<h4>This is heading 4</h4>
<h5>This is heading 5</h5>
<h6>This is heading 6</h6>

<p>This is a paragraph</p>

To break<br>lines<br>in a<br>paragraph,<br>use the br element.

<hr>
The hr tag creates a horizontal line in an HTML page.

<em>This is emphasized text</em>

<strong>This is strong text</strong>

<!--This is a comment. Comments are not displayed in the browser-->

<ol>
  <li>This is an</li>
  <li>Ordered</li>
  <li>List</li>
</ol>

<ul>
  <li>This is an</li>
  <li>Unordered</li>
  <li>List</li>
</ul>

The <code>code element</code> example

The <em>em element</em> example

The <mark>mark element</mark> example

The <small>small element</small> example

The <strong>strong element</strong> example

The <sub>sub element</sub> example

The <sup>sup element</sup> example

<input type="radio" name="rad"> Radio input

<input type="checkbox"> Checkbox input

Text input <input type="text" value="default value that goes on and on without stopping or punctuation">

<a href="http://www.newschool.edu">This is an absolute link</a>

<a href="myfolder/myfile.html">This is a relative link</a>